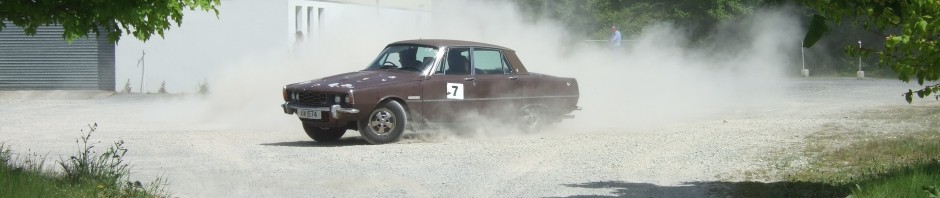
This weekend was the last for repair and modifications to the Rover P6 panels, before they are removed and left with a painter. We have done a fair amount of work to the chassis itself, removing the lower D pillars which wrap around the front edge of the rear wheels, to provide space for wider 15″ wheels and corresponding wider tyres.

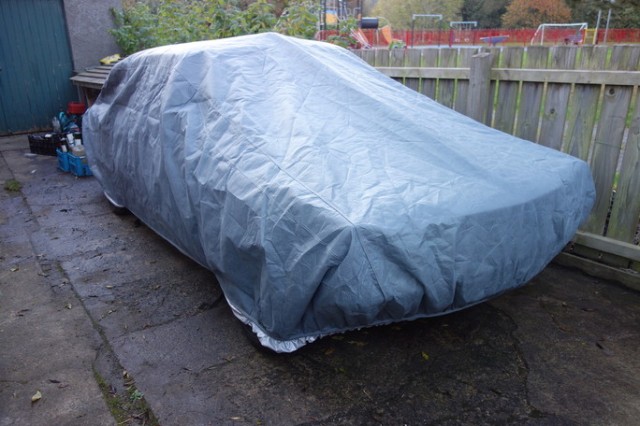
Waiting for paint in the drive
The rear door frames have also been modified to continue this extra space for the larger wheels. Here you can see the extra triangle formed on the inside of the door.

Waiting for paint side view
The two good (un-hit) spare wings we had, have modifications limited to the moving the forward mounting tabs. Removing the lower D pillars also removes the lower wings mount. These were relocated higher up both on the D pillars and the wing.

Rear wheel arch cut detail
The rear valance has been made more suitable for the car, by removing forward pointing corners which enjoy grabbing the grass and rocks as they pass under the car this continually bent the valence corners back.

Rear valance mods detail
Most of the work was in repairing the door frames, one was in terrible state with the aid of a welding chair and a lot of Mig gas the frame was made good and the door skin replaced.

Welding door skin
The other panels still required work, but not as much. The other big area of repair was the rear jacking point and the sill, D pillar interface. Here on both sides the rot was getting bad, we think due to the bodging of a repair years ago, this was more moisture trapping fiberglass than sound metal.

In garage
So tomorrow will finish off the jobs which I listed:
Front door lower frames tweaked; corners cut and bent to be inline with the rear doors.
Front door lower skins attach.
Rear door skins need trim holes drilled.
Prep Rear deck.
Driver Sill cover; Shorten and move jacking point hole.
Bonnet, remove Rover badge.
Then pack it up and send it off to the painters. We are leaving the panels there while we apply protection to the rest of the car and spray can paint the Brown parts on the shell.
With only four weekend left to work on the car until the Irish Classic Retro, we still have a lot to do, but it will work out OK one way or another.